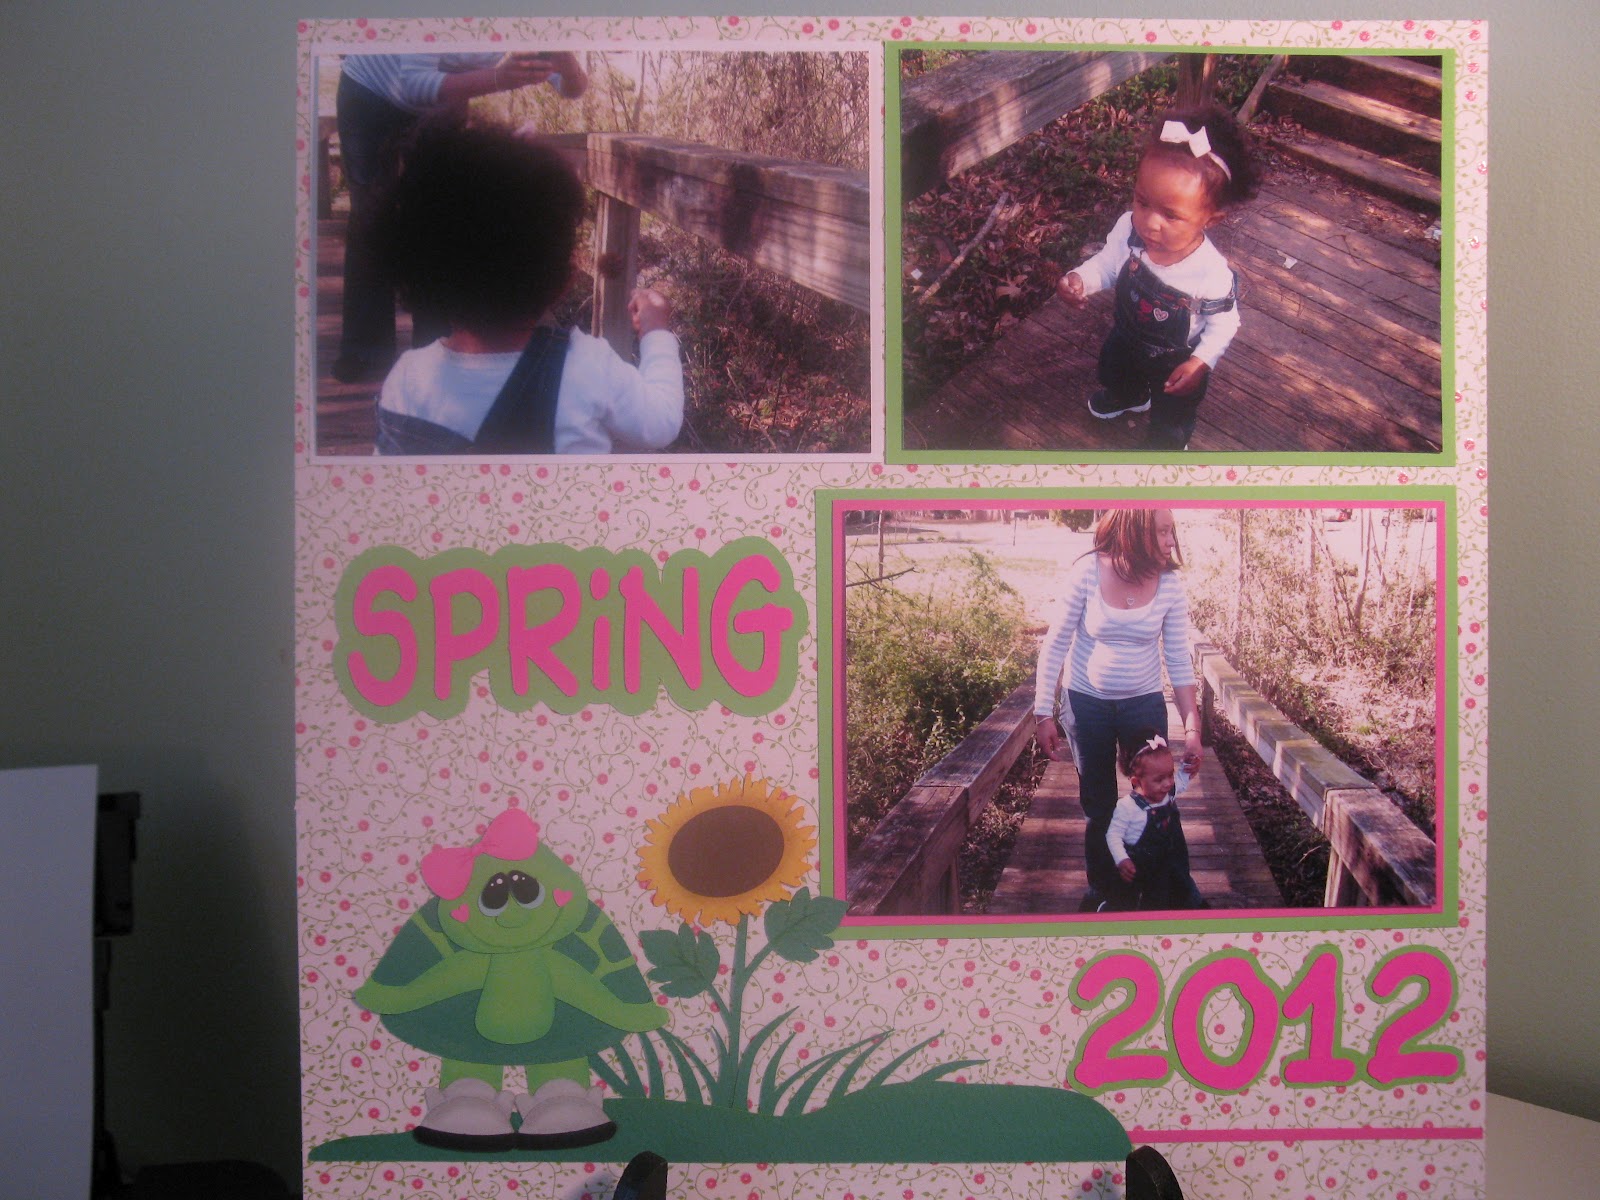
This two page layout was created using the Treasure Box Designs paper piecing file: "Mudding", Little Girl's head: Kiddies and Crackers file, Treasure Box Face Stamps, cut with Make the Cut software and my Gazelle.
Saturday, August 25, 2012
Sunday, August 5, 2012
Here are some tear bears that I have made using the Tear Bear files from Treasure Box Designs. Love these bears. So quick to put together.
This is the Tear Bear with the Patriot Kids clothes file. She was made with cardstock. I used a little gold stickles on the star and the Treasure Box face stamps for the face.This is the Tear Bear with the Butterfly and Little Buggies clothes sets. These were made with cardstock. Also used the Treasure Box Designs Face Stamps on these.
This is the Tear Bears with the Beary Babies and Mermaid clothes sets. These were made using no-pill fleece instead of cardstock or mulberry paper.
All were cut with my Gazelle and the Make The Cut Software.
Easter Layouts
Finally getting around to working on some Easter pictures. I am really behind.
Used Treasure Box Designs paper piecing files, Make the Cut software for cutting with my Gazelle. Pebbles chalks, colored pencils for detail, Treasure Box Face Stamps, EK Success Lattice Chain border punch, Sizzix scallop pocket tag, Martha Stewart Eyelet Lace punch around the page punch, Spellbinders scallop nestabilities dies, Cuttlebug, EK Success Card Creator Basketweave punch and various cardstocks and papers.
Sunday, May 27, 2012
Spring
Paper Piecings: TBDesigns - Free Birdie, I Turtly Love You!
Machine used to cut: Gazelle
Software used: Make the Cut!
Pebbles Chalks
Random Paper
Me and My Shadow
Paper Piecings: Treasure Box Designs-Holiday Village(Groundhog Day)
Machine used to cut: Gazelle
Software used: Make the Cut!
Border: Martha Stewart Picket Fence punch
Pebbles Chalks
Misc Papers used
Saturday, May 5, 2012
Halloween Layout
Paper Piecings: Treasure Box Designs - Spooky Collection, Treasure Box Pals, New Arrival, What A Doll(freebie file), Pal Frames (freebie file)
Machines: cut with my Gazelle
Software used: Make the Cut (MTC)
Chalks: Pebbles blending chalks
Random paper
Scrub-A-Dub-Dub
Paper Piecings: Treasure Box Designs - Scrub-A-Dub-Dub collection
Machines used: To Cut - Gazelle, To Emboss - Cuttlebug with Swiss Dot folder for embossing, Sizzix Sidekick with RickRack decorative strip
Software used: Make the Cut (MTC)
Martha Stewart Double Scallop edge punch
Pebbles blending chalks
Random Paper
New Arrival
Paper Piecings From Treasure Box Designs - New Arrival Set
Cut using my Gazelle
Software used: Make the Cut (MTC)
Martha Stewar Doily Lace edge punch
Software used: Make the Cut (MTC)
Martha Stewar Doily Lace edge punch
Chalks - Pebbles blending chalks
Paper - Random
Saturday, May 14, 2011
Get Well Cards
I made two Get Well Cards today. This tent card is for a little boy, Dylan, that is sick. The MTC forum posted a challenge to get everyone to make cards to send to him to lift his spirits. You can read about him HERE.
My husband also has a co-worker that has had surgery recently and he ask me to make a card for him. So this is the card.
Both cards were made using a Riley Moose stamp, nestabilities dies, Fiskars embossing plates and Copics of course. Tried to make them "manly or boyish" so Riley the Moose was the perfect choice. Thanks for looking.
Labels:
Cards,
Copics,
Cuttlebug,
Nestabilities,
Riley Moose
Saturday, May 7, 2011
Expecting Baby Layout
I am starting a scrapbook for my daughter, who at this time has had my granddaughter. So this layout with more to follow will be a little late.
I love to create my layout pages in Make the Cut beforehand so that I can see how placement will be and what embellishments I want. This was all cut with my Gazelle!!
I have attached the MTC file if you would like this layout. When you open it in Make the Cut you will see the layout page. The lock is on the page. This is to show you how to assemble it, although you can move it around to the way you would like. I have made three cutting pages(tabs) for this file (included) so that it will make it easy to cut the separate elements. See the journaling tag, baby peeker and stork tabs on this file. Unlock them before cutting and move the group around for your paper placement and cutter. Also on the stork page remove the note that I added to the page about the stork color before cutting.
I used Peachy Keen face stamps (Everyday Faces) on the baby peeker. I will have the stork holding the baby in a future layout to share. Look for it soon.
Hope you like this.
I love to create my layout pages in Make the Cut beforehand so that I can see how placement will be and what embellishments I want. This was all cut with my Gazelle!!
(hid daughters belly since she was showing it-not sure she would appreciate showing the "world")
I have attached the MTC file if you would like this layout. When you open it in Make the Cut you will see the layout page. The lock is on the page. This is to show you how to assemble it, although you can move it around to the way you would like. I have made three cutting pages(tabs) for this file (included) so that it will make it easy to cut the separate elements. See the journaling tag, baby peeker and stork tabs on this file. Unlock them before cutting and move the group around for your paper placement and cutter. Also on the stork page remove the note that I added to the page about the stork color before cutting.
Click HERE for the MTC file.
I used Peachy Keen face stamps (Everyday Faces) on the baby peeker. I will have the stork holding the baby in a future layout to share. Look for it soon.
Hope you like this.
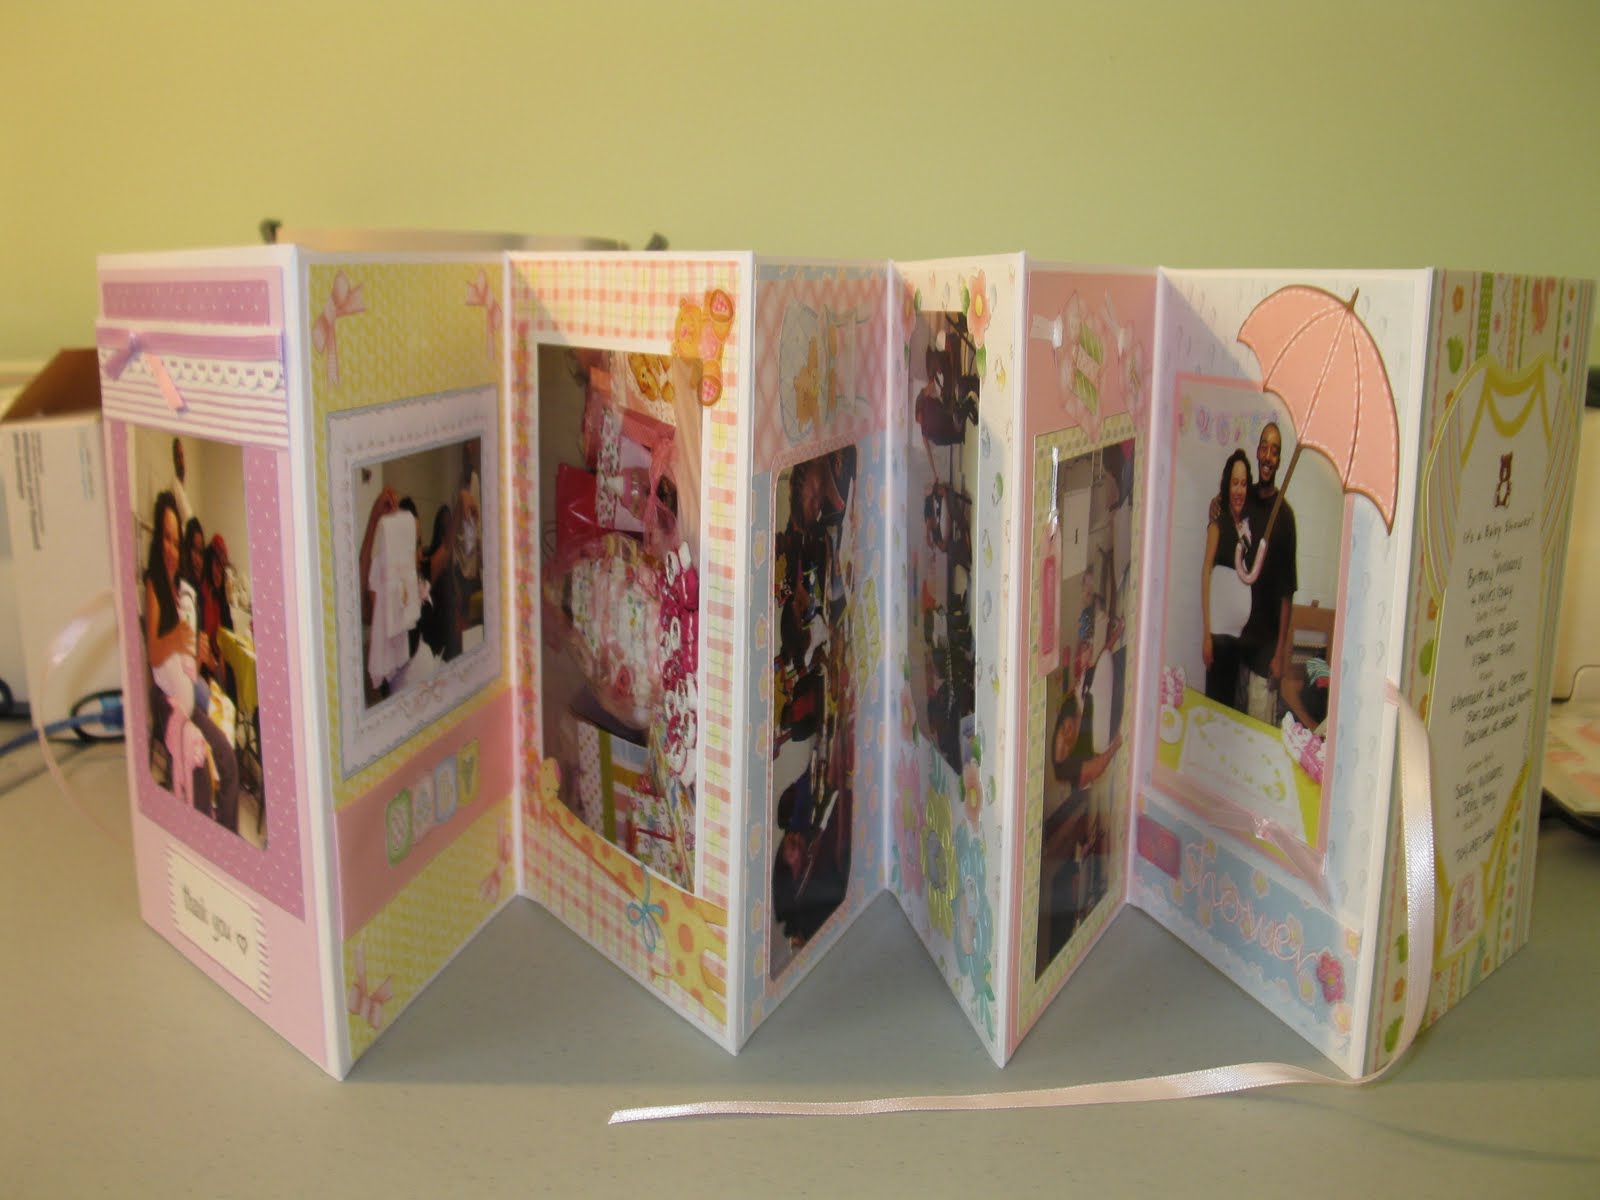
Envelope Photo Keeper Album
I had already started this project but figured what better day than today to finish it. National Scrapbooking Day!
Okay so if you are like me you have tons of photos but only pick from a few to put on scrapbook pages. Sometimes I have a lot that I still would like to show off. So I have made another type of mini-album to hold all of the extra photos and keep them arranged by event.

To make, you layer the envelope bottom edge (open side of envelope) facing up, over the flap of the next envelope, sealing the flap to the front bottom of the envelope with adhesive. Once you have all envelopes attached. You will need to make a front cover for the first envelope flap that has not been attached to an envelope. Cut two pieces of heavy cardstock 5-1/2" x 8-3/4". Attach these to the front and back of the first envelope flap as well as to each other to make a cover.
Then you can begin embellishing the front and back of the envelopes.
Here are the dimension of the scrapbook paper pieces you will need to complete the book:
Okay so if you are like me you have tons of photos but only pick from a few to put on scrapbook pages. Sometimes I have a lot that I still would like to show off. So I have made another type of mini-album to hold all of the extra photos and keep them arranged by event.
Directions:
This mini-album is made using 5-3/4" x 8-3/4" white greeting card envelopes. It will fold accordian-style once completed. You can use whatever number of envelopes you choose to depending on how many photos you have to put in the envelopes and how many envelopes you wish to decorate. With this one I used 7 envelopes. To make, you layer the envelope bottom edge (open side of envelope) facing up, over the flap of the next envelope, sealing the flap to the front bottom of the envelope with adhesive. Once you have all envelopes attached. You will need to make a front cover for the first envelope flap that has not been attached to an envelope. Cut two pieces of heavy cardstock 5-1/2" x 8-3/4". Attach these to the front and back of the first envelope flap as well as to each other to make a cover.
Then you can begin embellishing the front and back of the envelopes.
Here are the dimension of the scrapbook paper pieces you will need to complete the book:
Inside Liner (where the photos are kept): 8" x 2"
Inside Liner (for the outer envelope): 8-1/2" x 4-1/2"
Front of envelope: 8-1/2" x 5-1/2"
Ribbon to add to the front cover and to the last page.
Tip: Before starting this project or any other project I like to draw out a diagram of how it will be put together, then I can make changes as needed. After completing this project, I found that this would fold easier using an even number of envelopes.
Hope you like this project.
Happy National Scrapbooking Day!!!
Today is National Scrapbooking Day!! A day where we try to find as much time as possible to work on scrapbooking, card making and other paper crafts. I hope you are getting to enjoy some crafting time. I am. I will try to post some pictures of the projects I have been working on a little later today.
Have fun!!!
Have fun!!!
Tuesday, May 3, 2011
The Gazelle Has Arrived
My Gazelle arrived today!!! I have it unpacked and ready to read the operating instructions. I got in on the special that included the Gazelle and everything that comes with it (Gazelle Cutter, Funtime 2010 software, 700 shapes and 200 fonts, cutting mat, blade, blade holder, usb cable and the instruction manual). Along with this I received a bonus package extra deep cut blade, extra replacement blades, vinyl blade and an extra cutting mat. This extra gold cutting mat is an extra sticky mat that is great to use with chip board and other heavy cutting materials. I also ordered the Pre-set blade holder as this was highly recommended by other Gazelle owners.
The features of the Gazelle are:
**12" cutter, 500 grams of pressure
**Cuts a variety or media, including: chipboard, glitter paper, vinyl and much more
**Optical eye, used for print and cut
**Draw, cut, weld, outline, shadow, pierce, embroidery, engrave, cut decorative edges with the scissor tool and much more
**Scan and vectorize your own images
**Cut True Tpe Fonts
**Works with Windows OS XP, Vista or 7
**One added feature not on the box but that I know...It will cut with the Make The Cut software. It is one of the cutter options when ready to cut your project.
I hope to share my learning experience with this cutter and maybe make a few tutorials to share. Now off to register my cutter on the Bosskut Forum site and then to start playing.
Saturday, April 9, 2011
Easter Basket With Eggs
This file has a lot of detail pieces. A suggestion when cutting, cut by sections, as it's layered in the file. Leave the pieces on the cutting mat and take off each piece and place it in place on the background, one piece at a time. This way you will know where each little piece goes.
Click Here to get this MTC file.
Subscribe to:
Posts (Atom)